
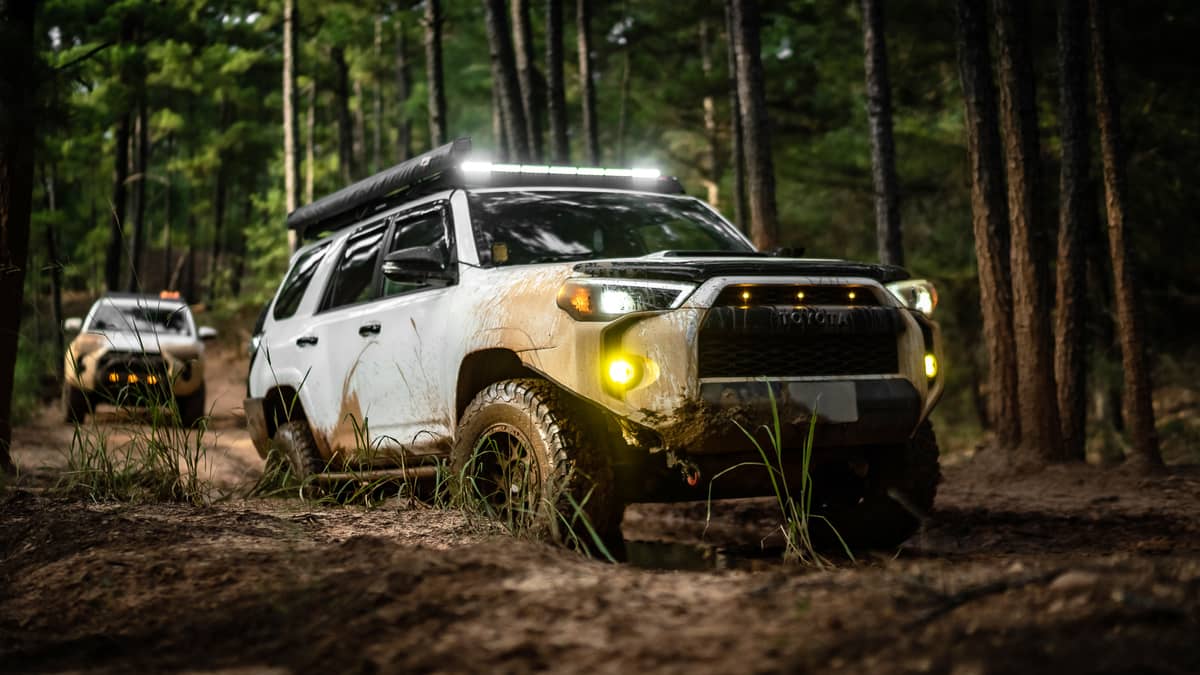
An off-road suspension inspection before trail season isn't a waste of time before heading off-road — it's cheap(er) insurance and priceless peace of mind. Hard miles, added weight, and uneven terrain slowly wear out parts long before something dramatically fails. Catching issues early saves time, protects expensive components, keeps your rig driving straight on the highway, and maintains predictability on the trail. Whether you're running a mild lift or a fully built suspension, an early inspection coupled with vital component replacements sets the tone for reliable performance all year.
Suspension Maintenance Checklist Every Off-Roader Should Follow
A solid suspension maintenance checklist doesn't require special tools — just time, attention, and a systematic approach. Focus on load-bearing and alignment-critical components first:
- Upper Control Arms (UCAs): Check bushings and ball joints for play or cracking. If you're running a JBA arm, this is also when to grease it — MOLY EP lithium grease, every 3,000 to 5,000 miles, or after every water crossing.
- Lower control arms: Inspect bushings, mounting tabs, and bolt torque.
- Ball joints: Look for wear, grease loss, or unusual movement. Our 7 Signs of a Bad Upper Control Arm guide walks through the 12-and-6 o'clock test — grab the tire at 12 and 6 with the wheel jacked off the ground and push/pull vertically. Any movement means a worn joint or bushing.
- Shocks and struts: Inspect for leaks, dented bodies, or loose hardware.
- Springs: Check for sagging, cracks, or coil contact issues.
- Sway bar links: Inspect bushings and end links for wear or bending.
- Hardware: Re-torque all suspension bolts to spec at ride height. On a JBA Max 90 ball joint, that's 13 ft-lbs on the 4 bolts mounting it to the A-arm, 60 ft-lbs on the ball joint stud nut, and 80 ft-lbs on the frame-mount bushing bolts.
This checklist matters even more on a lifted vehicle. Lift geometry changes angles, load paths, and stress points, meaning worn parts show up faster if they're not engineered for that setup.
Common Control Arm Wear Signs to Watch For
Control arms work constantly, managing alignment, wheel travel, and impact loads. Ignoring early wear signs often leads to sloppy handling or alignment problems that won't stay corrected.
Watch for:
- Clunking or popping noises over bumps or during steering input
- Uneven tire wear, especially on the inner or outer edge
- A feeling of loose or wandering steering at highway speeds
- Visible bushing deformation or dry, cracked rubber
- Ball joint play when the suspension is unloaded
On lifted vehicles, factory control arms often operate outside their intended range. That's when premature wear often shows up — the part isn't bad in itself, it just was never designed for the increased droop or altered caster angle a lift introduces.
Trail Readiness Prep That Improves Safety and Performance
Good trail readiness prep isn't just about surviving obstacles — it's about staying in control when things get unpredictable. A suspension that's tight, aligned, and moving correctly improves braking, steering response, and tire contact.
Pre-season prep benefits include:
- More stable handling on off-camber terrain
- Predictable steering during climbs and descents
- Reduced risk of component failure far from help
- Better alignment retention after hard trail use
It's also worth reassessing how you use your vehicle. Added armor, a rooftop tent, or heavier gear changes your suspension loads. What worked last season may now be operating at its limit — especially if you're running bigger tires than you were a year ago.
When an Inspection Turns Into an Upgrade
Sometimes an inspection surfaces more than just wear — it surfaces a geometry problem the factory arm was never built to solve. That's usually when it makes sense to focus on Upper Control Arms first. If you're running a 1"–3.5" spring lift or leveling kit, that means a spring-lift arm angled to correct the caster the lift introduced. If you're running a 4"–12" lift with a cradle drop kit, it means an arm built to stay level, matched to the drop bracket and longer steering knuckles that come with that kit — and built HD, since bigger tires push more force through the upper ball joint under braking and cornering.
Complete JBA upper control arm sets run $603 to $853 depending on your vehicle and lift type — that's the arm, bushings, and ball joint, all field-serviceable rather than a throwaway part. If a joint or bushing is the only thing worn, you don't need a whole new arm: a Max 90 Ball Joint rebuild runs $72 to $75, and an EZ Lube Bushing Kit is $67. See our cost guide for the full breakdown. Intelligent upgrades restore performance rather than chasing problems later — fix what your inspection actually found instead of replacing everything at once.
More Trail Time, Fewer Surprises
Pre-season prep is about confidence, not just parts. A thorough inspection builds confidence that your suspension can handle long miles, heavy loads, and technical terrain without surprises — which means less time diagnosing noises, fewer dollars on emergency repairs, and more time doing what your rig was built for.
Inspect early. Upgrade when it makes sense. And head into trail season knowing your suspension is engineered, maintained, and ready to perform on the trail and on the drive home. Shop JBA Offroad's suspension essentials for quality parts you can trust.